|
Field
|
Description
|
|
Cluster Name
|
Lists the clusters in the design and lets you create a cluster using the Create – P&R Objects – Clusters command. You can define clusters as inclusive, which means that you can place them in the cluster boundary, or exclusive, which means that they are excluded from and cannot be placed in the cluster boundary.
|
|
Cluster Boundary Name
|
Specifies a unique name for the cluster boundary. By default, the system assigns a name of the form CB_integer, where integer is incremented each time a cluster boundary is created.
|
|
Fit Member Instances Into Cluster Boundary
|
Places all the components in a cluster inside the specified cluster boundary. Components are placed according to their size from left to right and bottom to top. That means that the largest object is placed in the bottom left corner and the smallest object in the top right corner. If there is not enough space, the components in the top row are overlapped.
|
|
Cross-Highlight Boundaries
|
Highlights in the layout window the cluster boundary associated with the cluster selected in the form. When generating new cluster boundaries, use this option to associate existing clusters with their boundaries.
|
|
Create Method
|
This section lets you specify whether boundary creation is Manual or Automatic.
|
|
Manual
|
Lets you specify the cluster boundary by clicking with your mouse in the layout canvas.
|
|
Automatic
|
Specifies that the system creates a boundary based on the origin, aspect ratio and area information you specify.
|
|
Rectangle
|
Lets you create a rectangular boundary by clicking twice in the canvas.
|
|
Polygon
|
Lets you create a polygonal boundary by clicking once for each vertex in the canvas. The shape you draw must have at least three points and must not be self-intersecting. To close the polygon, double-click.
|
|
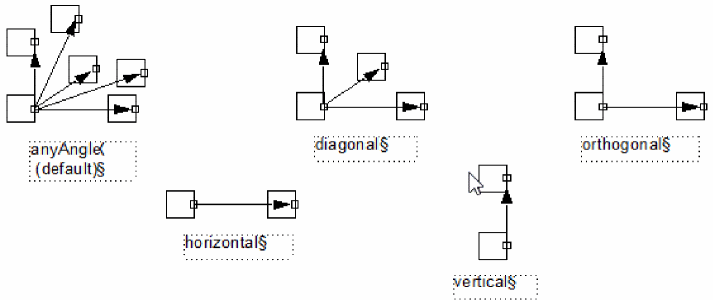
Snap Mode
|
Lets you select the types of shapes you can draw. Valid modes are:
|
|
Aspect Ratio (W/H)
|
Sets the width-to-height ratio of the cluster boundary. For example, a value of 1 specifies a square boundary, 2 specifies a boundary twice as high as it is long, and 0.5 specifies a boundary half as high as it is long. The default is 1.
Environment variable: clusterBoundaryAspectRatio
|
|
Origin X and Origin Y
|
Sets the origin point.
|
|
Area Information
|
This section lets you specify a target area for the cluster boundary or informs the system to estimate the area for you.
|
|
Area Estimator
|
Lets you estimate the target area based on the PR boundary, the bounding box of the components contained in the cluster, or using a user-defined estimator you have registered in the system.
The Estimate button is grayed out unless there is a registered estimator. Use the leRegClusterBdyEstimator SKILL function to register an estimator.
|
|
Estimated Area For Cluster
|
Displays the estimated area required to accommodate the components in the cluster depending on the other settings in the form.
|
|
Utilization (%)
|
Specifies the percentage of area within the cluster boundary that you want to fill with components. The lower the utilization value, the more free space is available.
|
|
Target Area
|
Lets you specify a target area for the cluster boundary.
|