Editing Properties of an Object
To edit the properties of an object:
- In the layout cellview, select the object on the canvas that you want to edit.
-
Choose Edit – Basic – Properties. Alternatively, you can press the
Qkey.
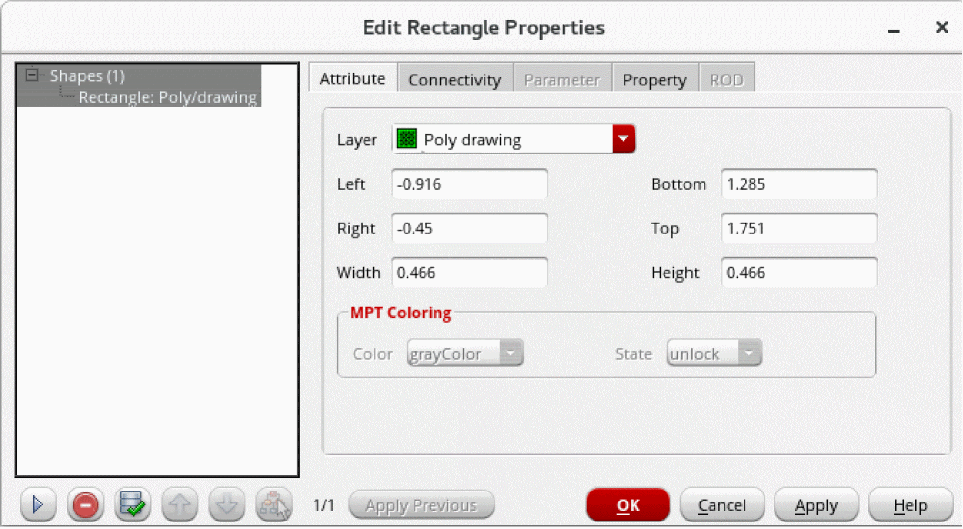
The Edit Properties form for the selected object opens.
-
Specify the new values in the required fields on the appropriate tabs of the form.
The edited fields are highlighted in the form. If the values of the non-editable fields get updated because of the change in the value of an editable field, such fields are highlighted in a darker shade of blue and gray color. It helps in distinguishing the fields that are modified and non-modified due to changes. -
Click Apply or OK.
The object is updated on the canvas according to the new values.
After you have edited the properties of an object, you can apply the same changes to another object by using the Apply Previous button in the property editor. This button applies the previously applied data from the property editor cache of the current session. When you hover over the button, the previously applied data, if any, is displayed as a tooltip. The button appears disabled if there is no previously applied data. Apply Previous applies only the properties that are applicable to the selected object. For example, suppose you modified the width of a rectangle on the Attribute tab of the property editor and the net name on the Connectivity tab. The Apply Previous tooltip lists the names of the tabs and modified fields as shown in the image. If you apply this data to a polygon, the same net is assigned to the polygon but the width change is not applied because Width is not a valid attribute of a polygon.

Related Topics
Return to top